
Sorry to mislead but the colors from my earlier post were actually for separate projects and my crappy camera made one can look orange when it is more of a coral-y red. It never even crossed my mind that they would be perceived as Auburn colors! I've been away from Alabama too long :)
So I've been living in my new apartment for a little over a month and decided it was high time I get cracking on some projects to make the space feel more personal. Do you read Lonny? If you don't, you should. They feature some gorgeous spaces and it's all online and free to browse. Perfect way to kill some time when you need a break at work :)

Well, I saw this bathroom in Lonny many issues ago (page 62, February/March 2010) and have always loved it. I secretly hoped to find an apartment with similarly hideous pink tile. Alas, my new place has perfectly innocuous white tile, but I still liked the idea of doing something fun and busy in a bathroom. It's a small enough space that it won't be overwhelming and you don't spend much time in there anyway. My inspiration room uses wallpaper which is beyond my commitment level. Paint is more my speed. I considered a stencil (like these) but nothing seemed as free and organic as these sunburst shapes. I thought about making my own but decided that would be too ambitious for my first stencil adventure.

I brainstormed for a while for a fun idea and then found this shower curtain at Target. A more subtle version of the sunbursts! Since it had such a great pattern, I decided to make the walls less crazy but still impactful. I have always loved this project (by a fellow Auburn alum living in the city) and decided to give stripes a shot on my walls.

It's a teeny room, so I was surprised how long it took me to execute the whole project. I even feel like I cut corners! First, I gave the walls a good coat of white paint because they were still the grubby color I moved in to. Once that dried, I could start taping off my stripes.
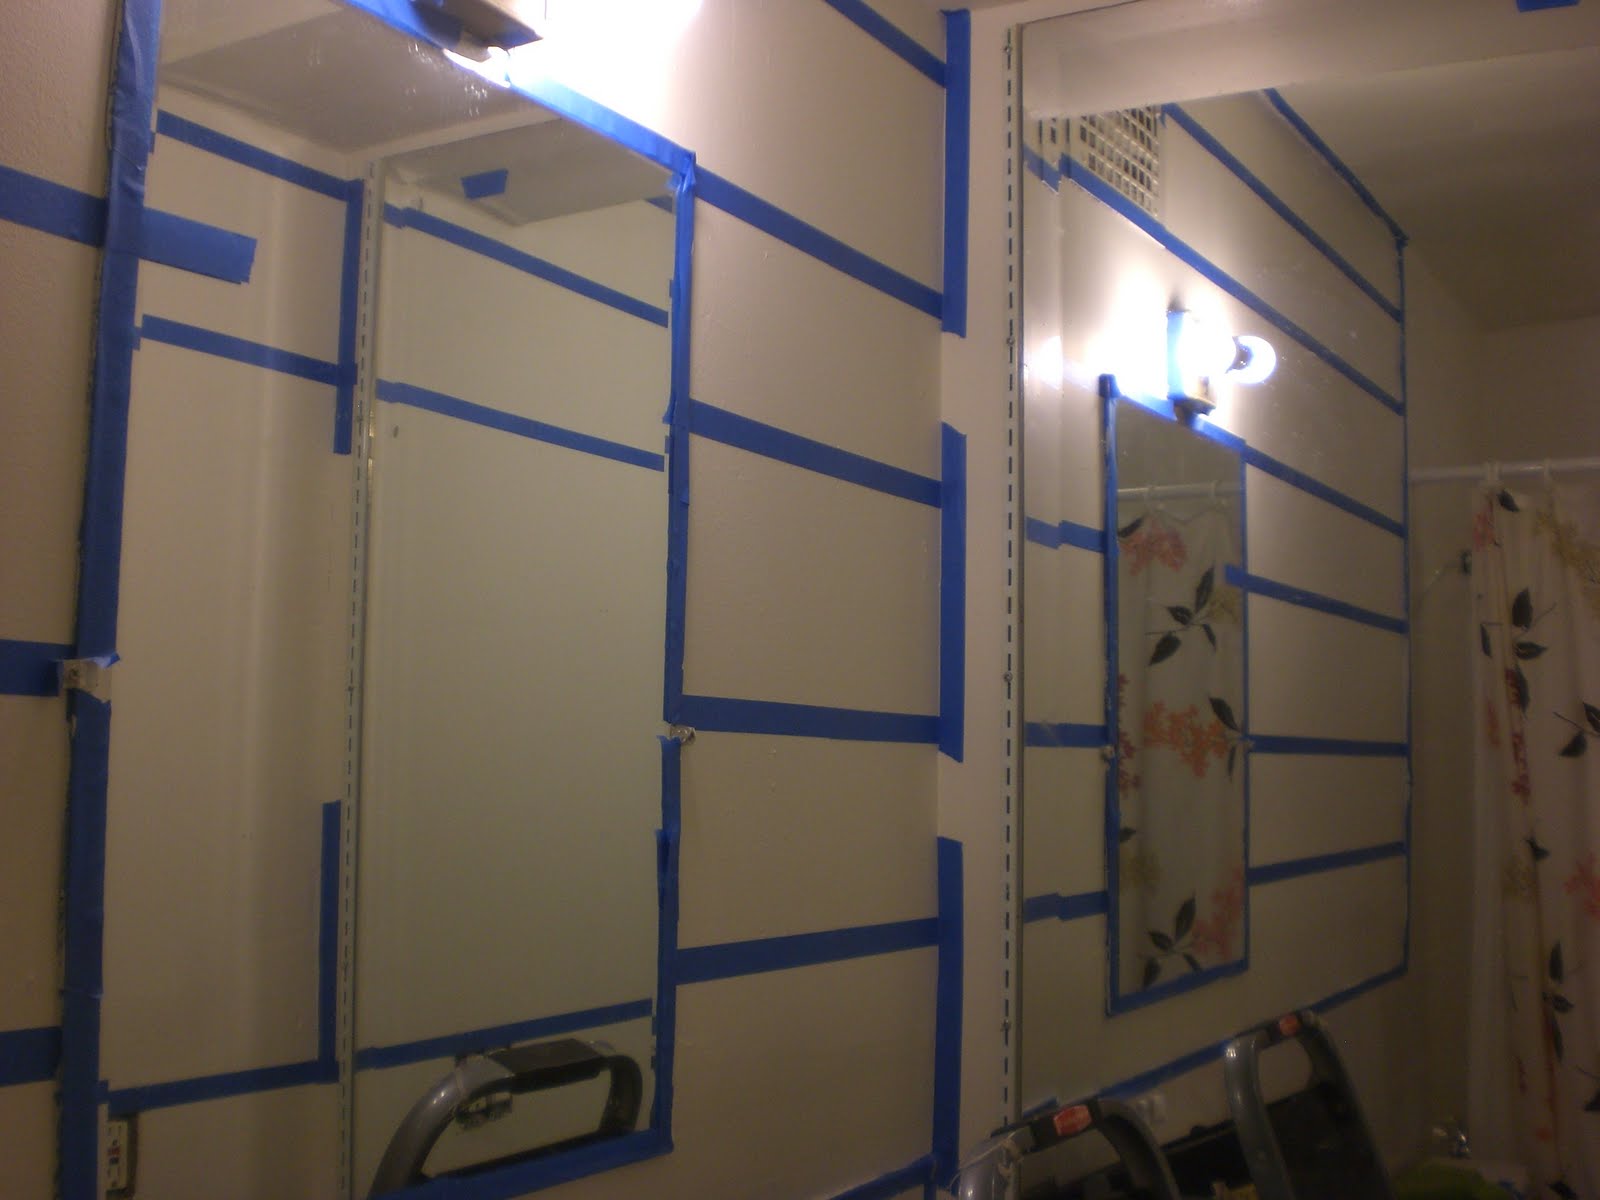
This was the time consuming part. I used the wall tiles as my guide and just extended them around the room using a level, straightedge, and painter's tape. None of the stripes are the same width and I'm ok with that. (My architecture professors would say my craft level has gone down the toilet.)

Once everything was finally laid out, I tried a trick I learned from my good friend Emily Henderson. To prevent too much of your stripe color from bleeding onto the wall, paint your base color on the tape to "seal" the seam. Brilliant! Finally I was able to start laying down some color.

I hung test swatches on the wall for a while (a la Young House Love) and finally decided on Fairmont Penthouse Mosaic Blue from Valspar. We can refer to it as Auburn Blue though :)

I naively I thought I might be able to get away with one coat but as soon as I started rolling paint on, I decided such a saturated color was going to need at least two coats. Sigh. All I wanted to do was peel off that tape and be finished!

Two coats and a little extra drying time later, I was ready for the reveal. Ta da! I was really amazed how cleanly the tape came off and how crisp the stripes look. I only had a few spots to touch up with a mini brush. So glad I used that trick!

So after a mountain of blue painter's tape, I have some awesome navy stripes! I'm really happy with the end result. I've dubbed it my nautical bathroom and plan to accessorize with some baskets and woven things. I've been seeing lobster prints and anchor motifs everywhere lately but i think that might be taking it too over the top. Even though I do love a good theme...

More details to come later :)
No comments:
Post a Comment